
Once a document is selected for signing, it is rendered and displayed on the screen.
3.1 Navigating the Document #
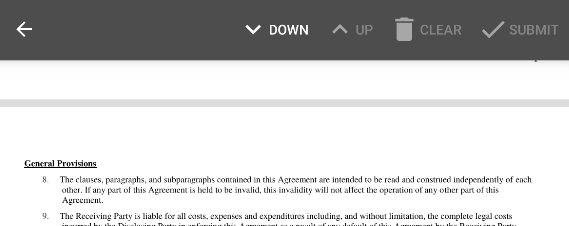
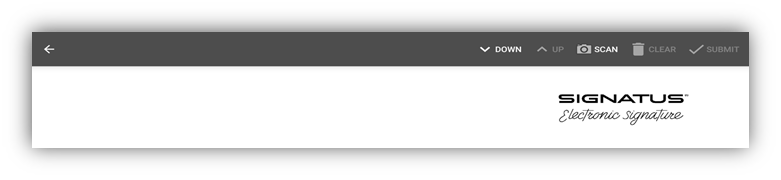
You can easily scroll through the document by swiping the screen with your finger or a stylus. It is also possible to navigate between active elements (e.g., checkboxes, signature fields, and text boxes) by clicking the UP / DOWN buttons located in the top bar.
When you press DOWN, you will be directed to the next unfilled active element, which will be highlighted in yellow. This feature ensures that all required actions are completed before the document is submitted.
The UP / DOWN functionality tracks your current position. This allows you to scroll manually with your finger and then continue precisely from that point using the navigation buttons.
To enlarge text or a specific part of the document, you can zoom in and out. You can also validate and edit the document before signing.
3.2 Validating and Editing the Document Before Signing #
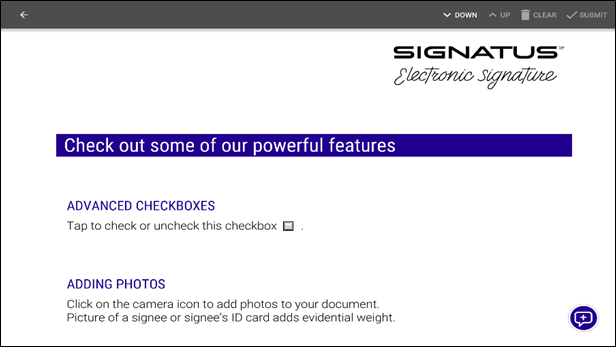
Before signing, the signatory can read through the document to validate its content, edit available AcroFields, or add annotations (see the chapter below for details). An AcroField can be edited by tapping the corresponding icon or the field itself on the document.
SIGNATUS supports the following PDF AcroFields in the document view:
- Checkboxes
- Radio buttons
- Text boxes
- Digital Signature fields (Optional or Required)
If a document contains Required Digital Signature AcroFields, all such fields must be signed before the document can be submitted. Optional signature fields do not prevent document submission.
NOTE for Samsung Galaxy Note users: By default, the S Pen is required to provide your handwritten signature. This ensures maximum precision and enables palm rejection, allowing you to rest your hand comfortably on the screen while signing.
If you prefer to sign with your finger or a basic stylus, you can enable this option in the Application Settings. Please note, however, that disabling the S Pen requirement may affect signature quality and palm rejection performance.
3.3 Annotations #
One of the most useful features is the ability to annotate the document directly on the screen. Annotations allow for last-minute adjustments, freehand comments, or adding a handwritten name to further confirm the signatory’s identity.
Depending on your configuration, annotations can be disabled, enabled only until the first signature is placed, or even allowed after the document has been signed.
NOTE: Any modification made after a document has been signed is clearly identifiable as a subsequent modification. Such changes do not apply to the original signature and may affect the document’s legal integrity.
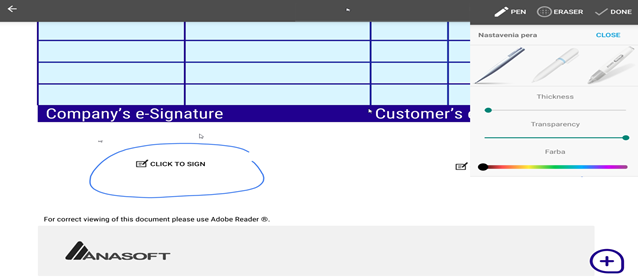
Annotation mode is entered by pressing annotation button on the screen. Once annotation mode is activated, top bar menu will change to allow modification of pen styles (e.g. color, pen type and line width), and add an erasing mode.
Annotation mode will also lock current displayed content. It is not possible to scroll the document in annotation mode in order to prevent unwanted drawings and enhance comfort during hand drawing.
3.4 Document scanning #
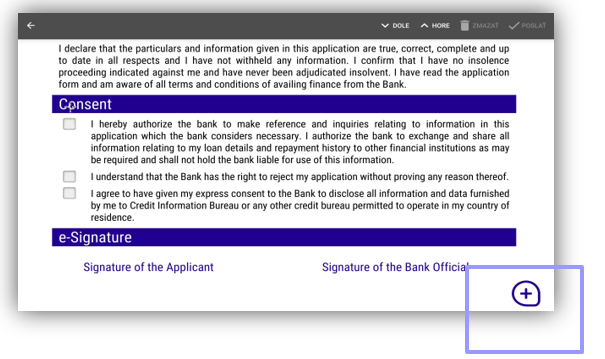
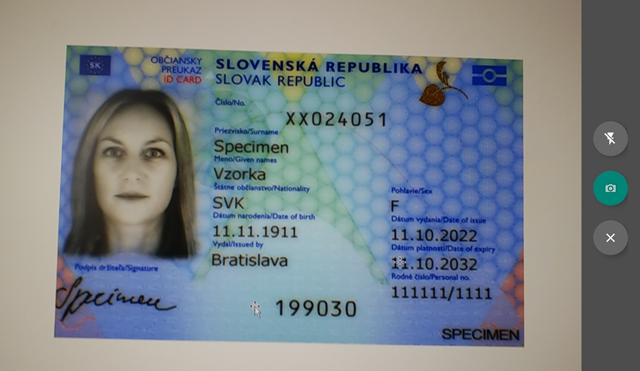
Besides adding annotations, it is possible to add scans of documents (such as ID Cards, Passports, Proof of Income) to the PDF documents. Scans can be captured by pressing ‘SCAN’ button in the top bar, when the document is displayed on the tablet screen.
Once the ‘SCAN’ button is pressed, the camera is initiated and picture can be taken. To take a picture once correctly focused, click on the green camera icon. To cancel the camera, click on grey cross. For a better scanning, you can choose the flash.
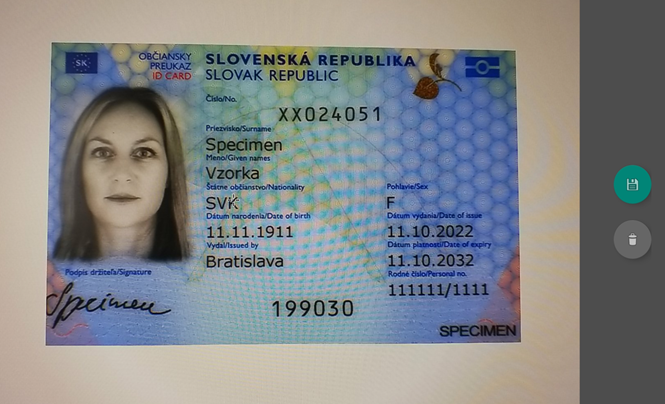
After clicking on the camera icon, the picture is taken and can be saved by clicking on the green save icon or discarded by clicking on the grey bin icon.
Scans can be added both before and after a document is signed, depending on the configuration. There are two ways to attach scans to a PDF document for signature:
- Add scans as a separate PDF document – The scans are saved in a separate file, which is sent along with the signed document in a .zip package. These can be added regardless of whether the main document has already been signed.
- Add scans to the same PDF document – New pages containing the scans are appended to the end of the document. In this case, the final output is a single PDF file instead of two separate documents.
3.5 Sign document #

Documents can be signed in the following ways:
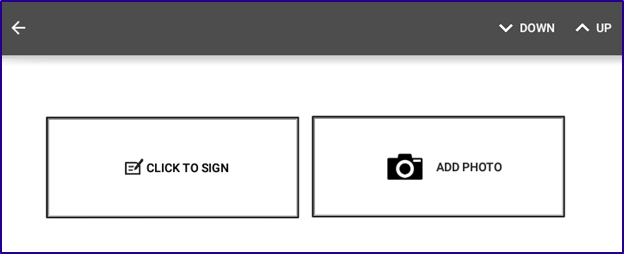
- Place the signature in a predefined field (marked “CLICK TO SIGN”).
- Long-tap the screen to use the “Sign anywhere” feature (typically used if no predefined fields are available).
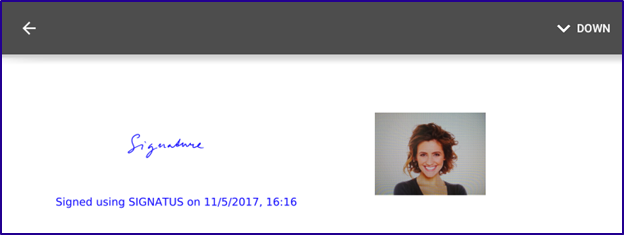
Additionally, you can display text (such as a date or name) below the handwritten signature by enabling the “Timestamp” option in the settings.
When signing a document, a pop-up window appears with the following options:
- OK: Adds the signature to the PDF document as shown.
- CLEAR: Deletes the signature so you can sign again.
- CANCEL: Closes the window and returns to the original document.
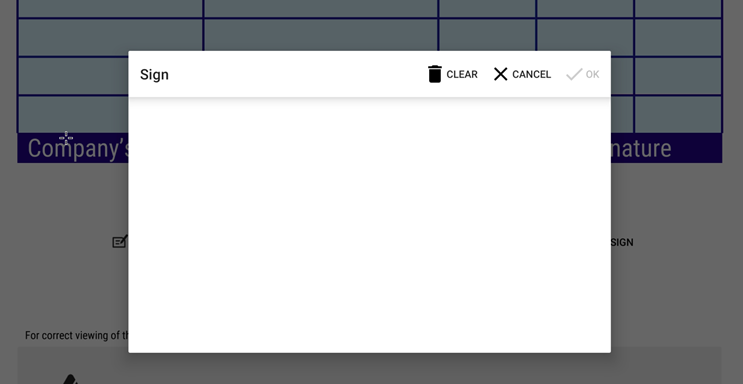
NOTE: The signature must have a minimum length (defined by the number of motion events, not physical length) to enable the ‘OK’ button. This is to prevent a simple dot or a short line from representing a handwritten signature.
3.6 Add photo next to the signature #
A photo field can be placed on the document to capture an image of the signee or any additional evidence using the device’s camera.
Clicking the “photo” field initiates the device camera. The photo is taken in the same way as when scanning a document. Once the photo is saved, it is automatically inserted into the field. The size of the photo in the document is variable and depends on the dimensions of the “photo” field.
3.7 Use GPS and location to the signature #
If GPS module is available and activated on a device, GPS coordinates are added to the signature. This way you can add more details to the signature and be able to find out about every signature on a document, where it was done.
Once PDF Document is signed ‘Submit’ button is enabled.
